
Building
Build a home, store your loot, and keep your base maintained.
Starter Build
Where you can build
You cannot build near NPC towns, shipwrecks, or pre-existing world houses. These locations have no-build zones around them. Choose a spot outside the protected area before placing your hut, foundations, or flagpole. If building is blocked, move farther away from the location.
Start with a Small Hut
The Small Hut gives you a first shelter for your bed and loot. Craft it at a Crafting Table using 100 Wood + 25 Cotton. Set up storage inside before heading out to gather or raid.
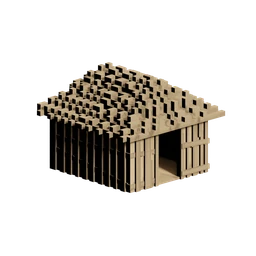
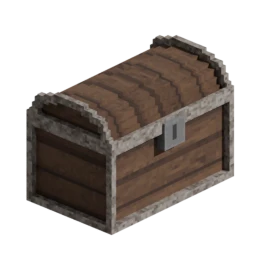
Store your loot and close the door
Chests are unlocked. Anyone who reaches a chest can open it and take the contents. Keep spare equipment, materials, currency, and raid loot inside your house, and close the door whenever you leave or return.
Owned doors can be used by you and crew members with door access. An open entrance lets other players walk straight to your storage.
Set your spawn point
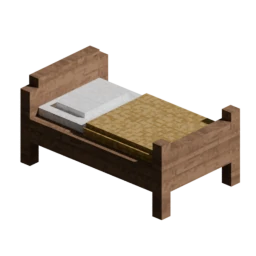
Place a Bed or Bed Roll in your home to set a spawn point. It is automatically assigned to you when placed; you can then choose to assign it to another player. Beds have a 2-minute respawn cooldown; Bed Rolls have a 5-minute cooldown.
Beds & assignmentFlagpole & decay
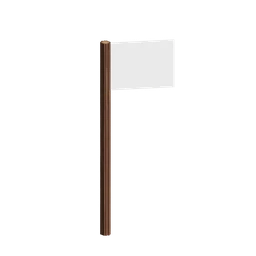
A Flag Pole creates a 75 m radius building zone. Normal building inside it is restricted to you and crew members with build permission, so non-crew players cannot build next to your base. PowderKegs are exempt from this restriction and can still be placed for raiding.
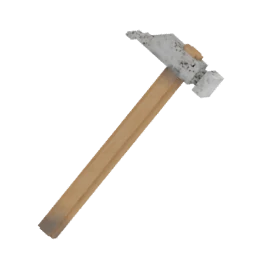
Keep the pole maintained: it has a 24-hour grace period, then starts losing 300 HP per hour. Use a Hammer and Wood to repair a decaying pole all the way to full health to restart the 24-hour grace period. Partial repairs do not restart the timer.
Active flag coverage prevents decay on other land buildables in its area. The flagpole itself still decays. If the last covering pole is lost, those buildings begin a fresh grace period before decay starts; their existing damage is not healed.
Flagpole recipe & detailsWood House
Start with foundations, add walls and a doorway, then support ceilings with pillars and fit your door. Use stairs for upper floors and roof pieces to finish the top. Wooden house pieces are crafted at a Crafting Table or Engineer Bench; learn the required recipes first. Open a piece below for its ingredients.
| Piece | Use | Health | Ladders attach |
|---|---|---|---|
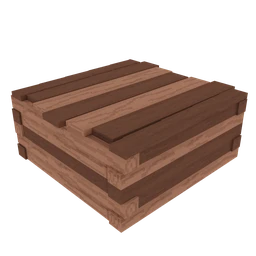 Wood FoundationRepair: Wood | Square base for your house. | 20,000 HP | Yes |
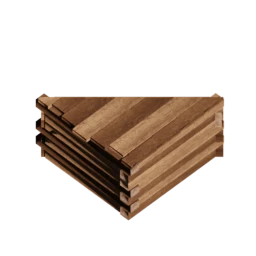 Wood Foundation TriRepair: Wood | Triangle base for angled layouts. | 20,000 HP | Yes |
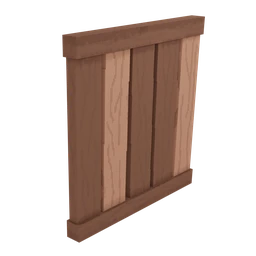 Wood WallRepair: Wood | Closes the sides of a room. | 10,000 HP | Yes |
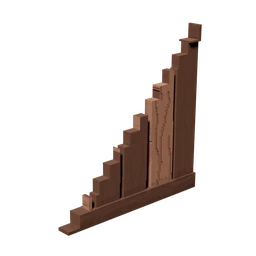 Wood Wall TriRepair: Wood | Triangle wall section. | 10,000 HP | Yes |
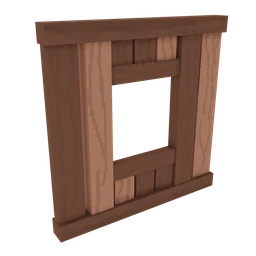 Wood WindowRepair: Wood | Wall with a window opening. | 10,000 HP | Yes |
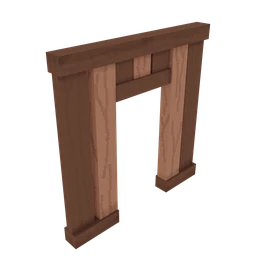 Wood DoorwayRepair: Wood | Opening for a door. | 10,000 HP | Yes |
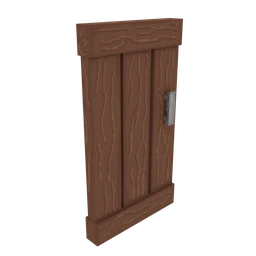 Wood DoorRepair: Wood | Close it to control entry. | 10,000 HP | Yes |
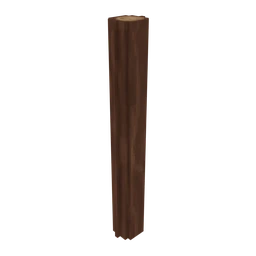 Wood PillarRepair: Wood | Supports ceiling pieces. | 20,000 HP | Yes |
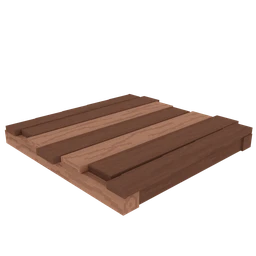 Wood CeilingRepair: Wood | Square ceiling or upper floor. | 20,000 HP | Yes |
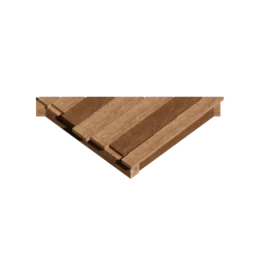 Wood Ceiling TriRepair: Wood | Triangle ceiling or upper floor. | 20,000 HP | Yes |
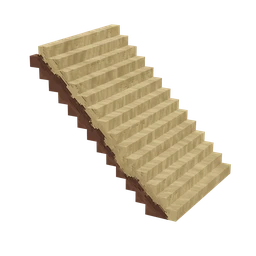 Wood RoofRepair: Wood | Sloped roof section. | 20,000 HP | No |
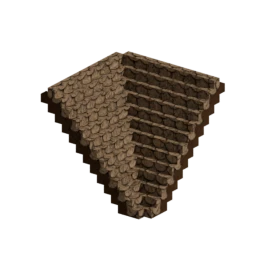 Wood Roof ConcaveRepair: Wood | Inside roof corner. | 20,000 HP | No |
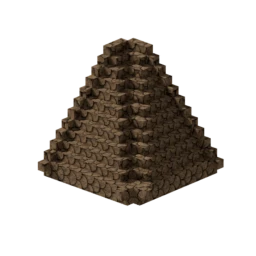 Wood Roof ConvexRepair: Wood | Outside roof corner. | 20,000 HP | No |
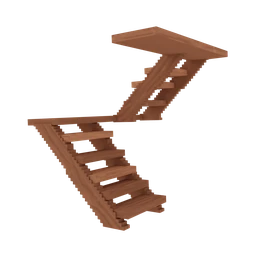 Wood StairsRepair: Wood | Access between levels. | 20,000 HP | No |
Stone House
Use stone foundations, walls, doorways, windows, pillars, and ceilings for a stronger house. Craft stone pieces at an Engineer Bench using Stone Block and the required learned recipes. Fit a Reinforced Door to secure the entrance, and use wooden stairs or roof pieces where needed. Repair each piece using the material shown below.
| Piece | Use | Health | Ladders attach |
|---|---|---|---|
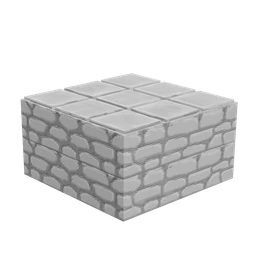 Stone FoundationRepair: Stone | Square base for your house. | 30,000 HP | Yes |
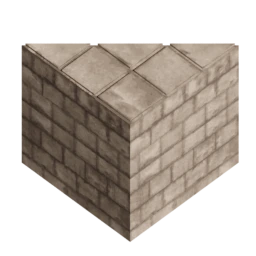 Stone Foundation TriRepair: Stone | Triangle base for angled layouts. | 30,000 HP | Yes |
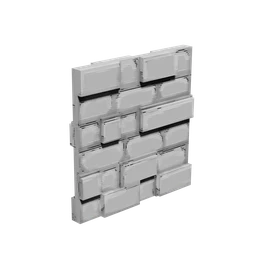 Stone WallRepair: Stone | Closes the sides of a room. | 20,000 HP | Yes |
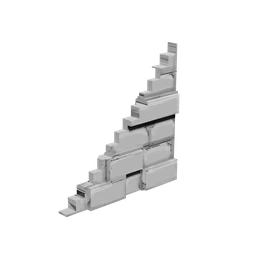 Stone Wall TriRepair: Stone | Triangle wall section. | 20,000 HP | Yes |
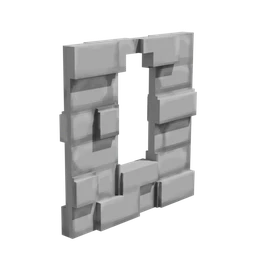 Stone WindowRepair: Stone | Wall with a window opening. | 20,000 HP | Yes |
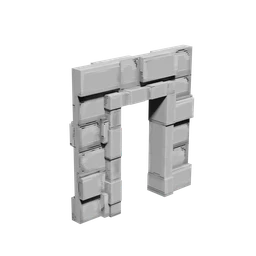 Stone DoorwayRepair: Stone | Opening for a door. | 20,000 HP | Yes |
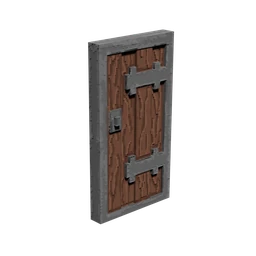 Reinforced DoorRepair: Wood | Stronger entrance door. | 20,000 HP | No |
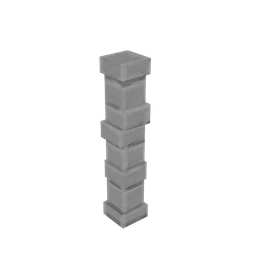 Stone PillarRepair: Stone | Supports ceiling pieces. | 30,000 HP | Yes |
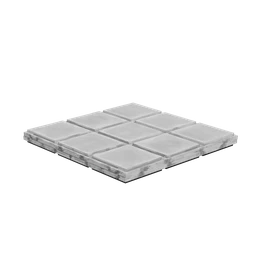 Stone CeilingRepair: Stone | Square ceiling or upper floor. | 30,000 HP | Yes |
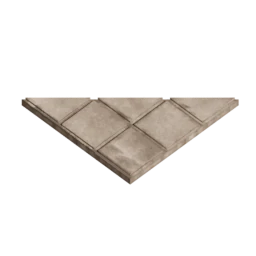 Stone Ceiling TriRepair: Stone | Triangle ceiling or upper floor. | 30,000 HP | Yes |
Fortifications
Build a perimeter with wood or stone fort walls, gateways, and gates. Stone fort walls have more health than wood fort walls. Add fort stairs for access and spikes around approaches.
Ladders cannot be placed on wood or stone fort walls. Fort gateways, gates, corners, and fort stairs also block ladder attachment. Regular house walls allow ladders, so plan your outer perimeter accordingly.
| Piece | Use | Health | Ladders attach |
|---|---|---|---|
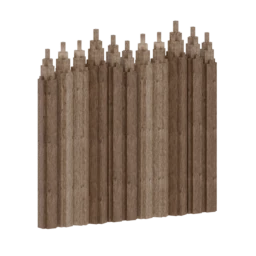 Wood Fort WallRepair: Wood | Wooden perimeter wall. | 17,500 HP | No |
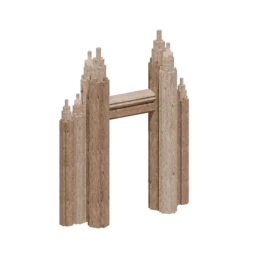 Wood Fort GatewayRepair: Wood | Opening for a wood fort gate. | 17,500 HP | No |
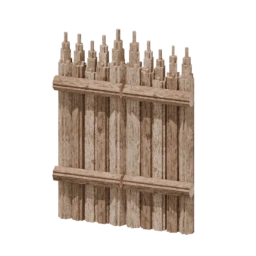 Wood Fort Wall GateRepair: Wood | Closes a wood fort gateway. | 17,500 HP | No |
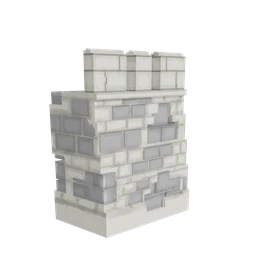 Stone Fort WallRepair: Stone | Stone perimeter wall. | 60,000 HP | No |
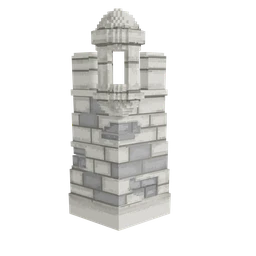 Stone Fort Wall CornerRepair: Stone | Corner for a stone perimeter. | 60,000 HP | No |
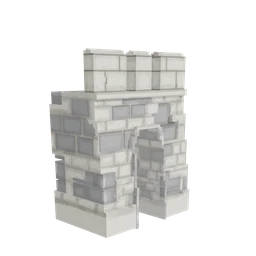 Stone GatewayRepair: Stone | Opening for stone gate doors. | 60,000 HP | No |
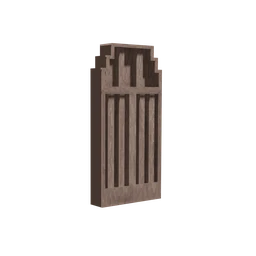 Stone Gate DoorsRepair: Stone | Stone gate doors. | 60,000 HP | No |
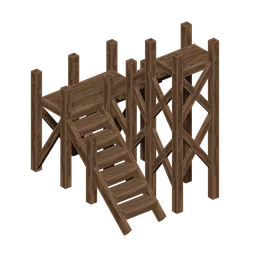 Stone Fort StairsRepair: Wood | Access to fort wall positions. | 30,000 HP | No |
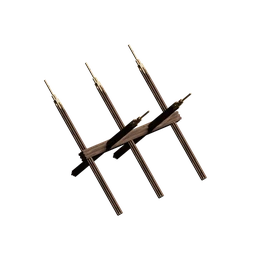 SpikesRepair: Wood | Additional perimeter obstacle. | 3,000 HP | No |
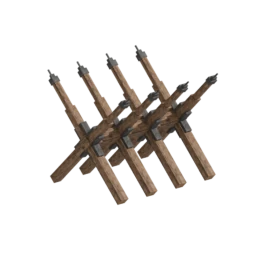 Reinforced SpikesRepair: Wood | Reinforced perimeter obstacle. | 5,000 HP | No |